Making your own natural oil paint is not only super quick, easy and economical but it also makes the most archival, vibrant and pure paint on the planet.
Unlike tubed, conventional oil paints, these paints don't have fillers (bulking agent), toxic preservatives, heavy metal or petroleum-based pigments, solvents or chemical additives. These paints will last for thousands of years and be 100% lightfast, humidity resistant and won't off-gas into your home.

Ingredients:
- Earth & Mineral Pigments
- Refined Walnut Oil, Linseed Oil, or Liquid Gold Hempseed Oil
Tools:
Optional:
Prep Time: 2-4 min. per color
Step 1. Scoop a pile of pigment on your glass palette.

Step 2. Create a small hole at the top of the pile, like a volcano.

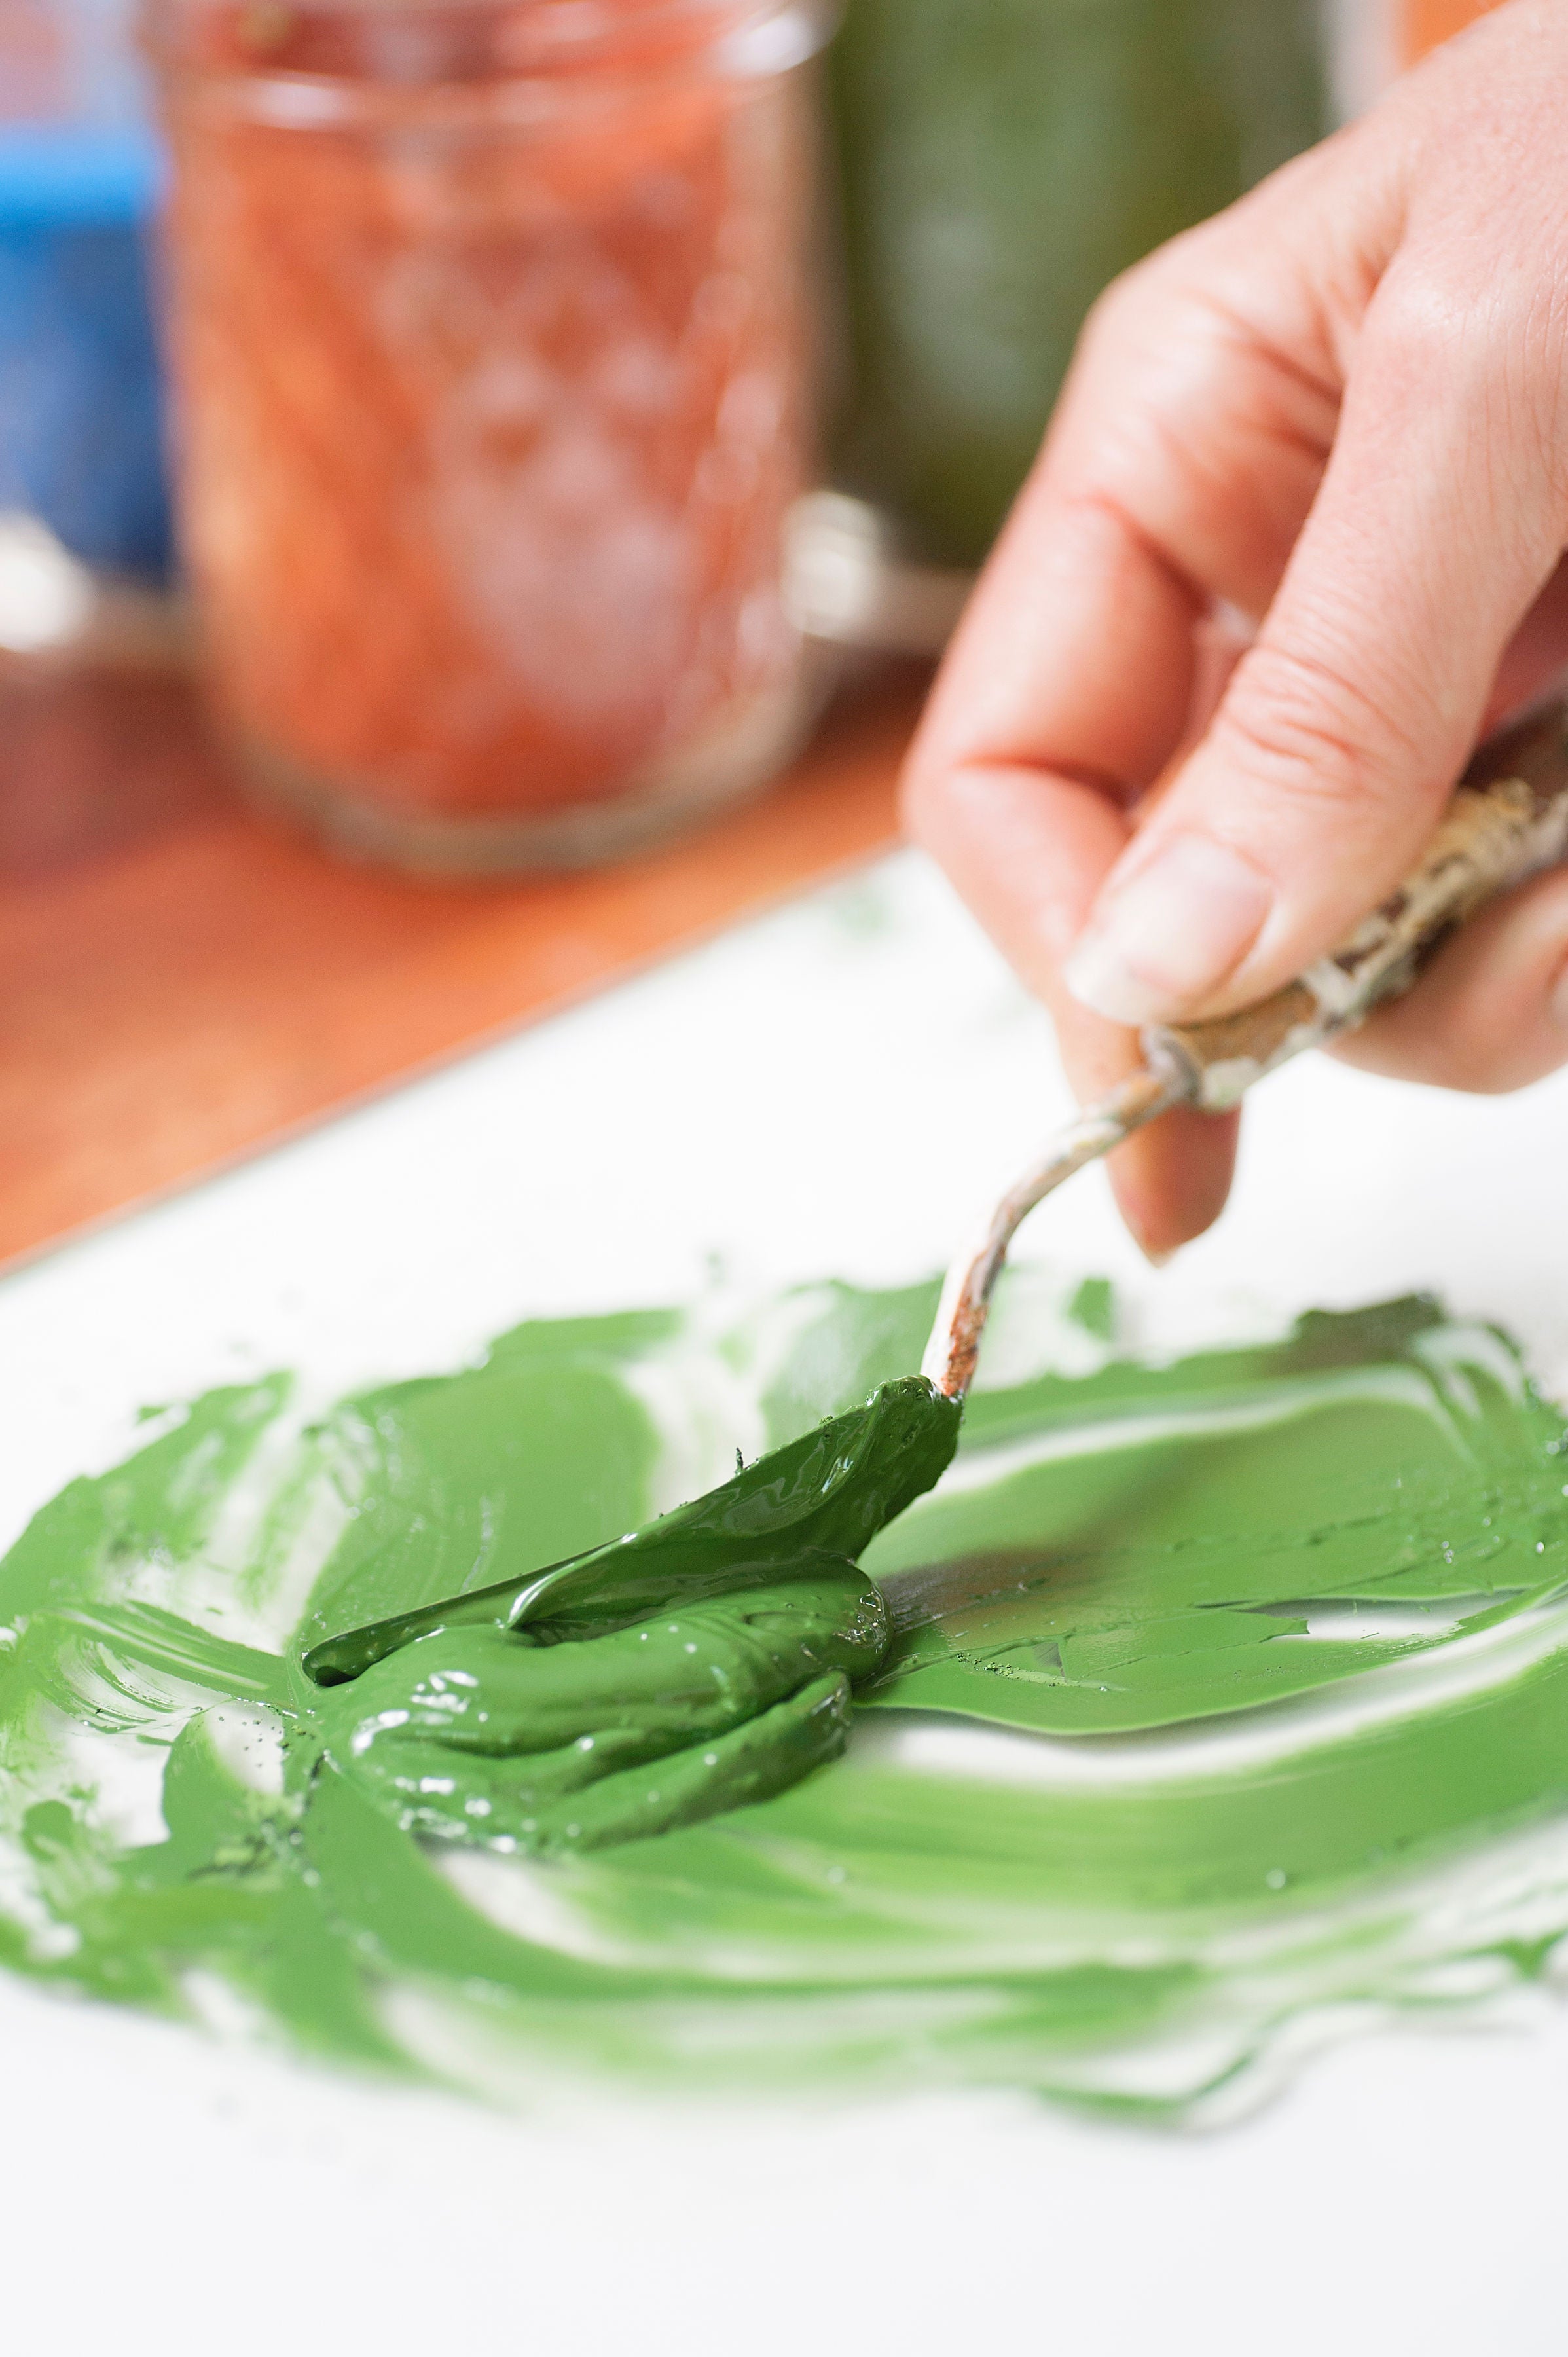
Step 3. Add drops of oil and start mixing with a palette knife. You can use a syringe or dropper to make adding oil easier or simply pour carefully from the bottle. See note below about how much oil to add or start by adding about 30% by volume of oil to the pigment.

Note: All natural pigments absorb liquid differently and in different amounts. For example, green may need a lot more oil to make a thick paste than yellow. Just add drops of oil and mix until a thick paste forms - you don't want it too thin! Use the least amount of oil possible to start.
Step 4. Mix the pigment and oil with your palette knife. Add more oil as necessary until you reach the desired consistency for your paint - a creamy, thick paste.

Step 5. Optional Final Step:
Use a glass muller after mixing with a palette knife. This step is simply to make sure that every single particle of pigment is completely coated in oil and there are no air pockets that may crack the painting surface in the future.
- Swirl the muller around in circular motions on the paint (start in center and move outwards) and then scrape the paint off the bottom of the muller and scrape paint into a pile on the palette and repeat (2-3 times). You don't need to exert downward pressure as you're not grinding the pigment particles down, you're just coating the particles.

To store your paint, you can transfer your paint onto a piece of aluminum foil, fold it up, and save it for your next masterpiece. Or put it in a small jar with a lid, or scoop into an empty aluminum paint tube.
See full article on "How to Store Your Mixed Oil Paint"

NOTES:
If you know you'll be painting throughout the week, you can simply leave the piles of mixed oil paint on your palette since it takes over a week before it will dry. After paint has dried on the glass palette, simply scrape off with a "paint scraper" from the hardware store - the kind with an actual razor blade inside - and dispose in the trash.
Clean up: Thin paints and clean brushes with Eco-Solve. Clean paint off of hands / skin with Pinerite. Varnish final painting with Natural Varnish, if desired.
Titanium Dioxide White: is notoriously the one pigment that is difficult to mix into a smooth, creamy paste. One tip is to use less oil than you think, adding just 10 drops at a time into a cakey paste and then mull 3 times. It looks like you don't have enough oil but if you keep mulling, it will get smooth.
Yellowing: Titanium White is also the only color that has a tendency to yellow over time. Many artists will use walnut oil for mixing all colors except white and will use either poppyseed oil or "Liquid Gold Hempseed Oil" to mix with white pigment because these 2 oils do not yellow over time.
Safety: Most artists will not create airborne dust by carefully scooping a spoonful of pigment and slowly mixing with oil. However if you're using large amounts of pigment or have any lung sensitivity at all, you'll want to wear a NIOSH Approved Respirator while mixing. Even though these pigments are non-toxic earth and minerals, you want to avoid inhaling any dust into the lungs.
Speed Up Drying Time: Add a few drops of "Sun-thickened Linseed Oil" to your mixed paint.
More of a visual learner? Check our our video tutorial here!
Interested in more recipes featuring Natural Earth Paint products? Visit our Recipes page!
Follow us on Instagram, Facebook, and Pinterest for more natural inspiration.


