Painting with the Wooden Eggs Craft Kit for the Easter season has provided my 3 year old son plenty of fun; he gets to paint, arrange, and hunt for his bright Easter creations!
Plus, we can re-use them every spring, painting on new designs each Easter. Here's our step-by-step guide!
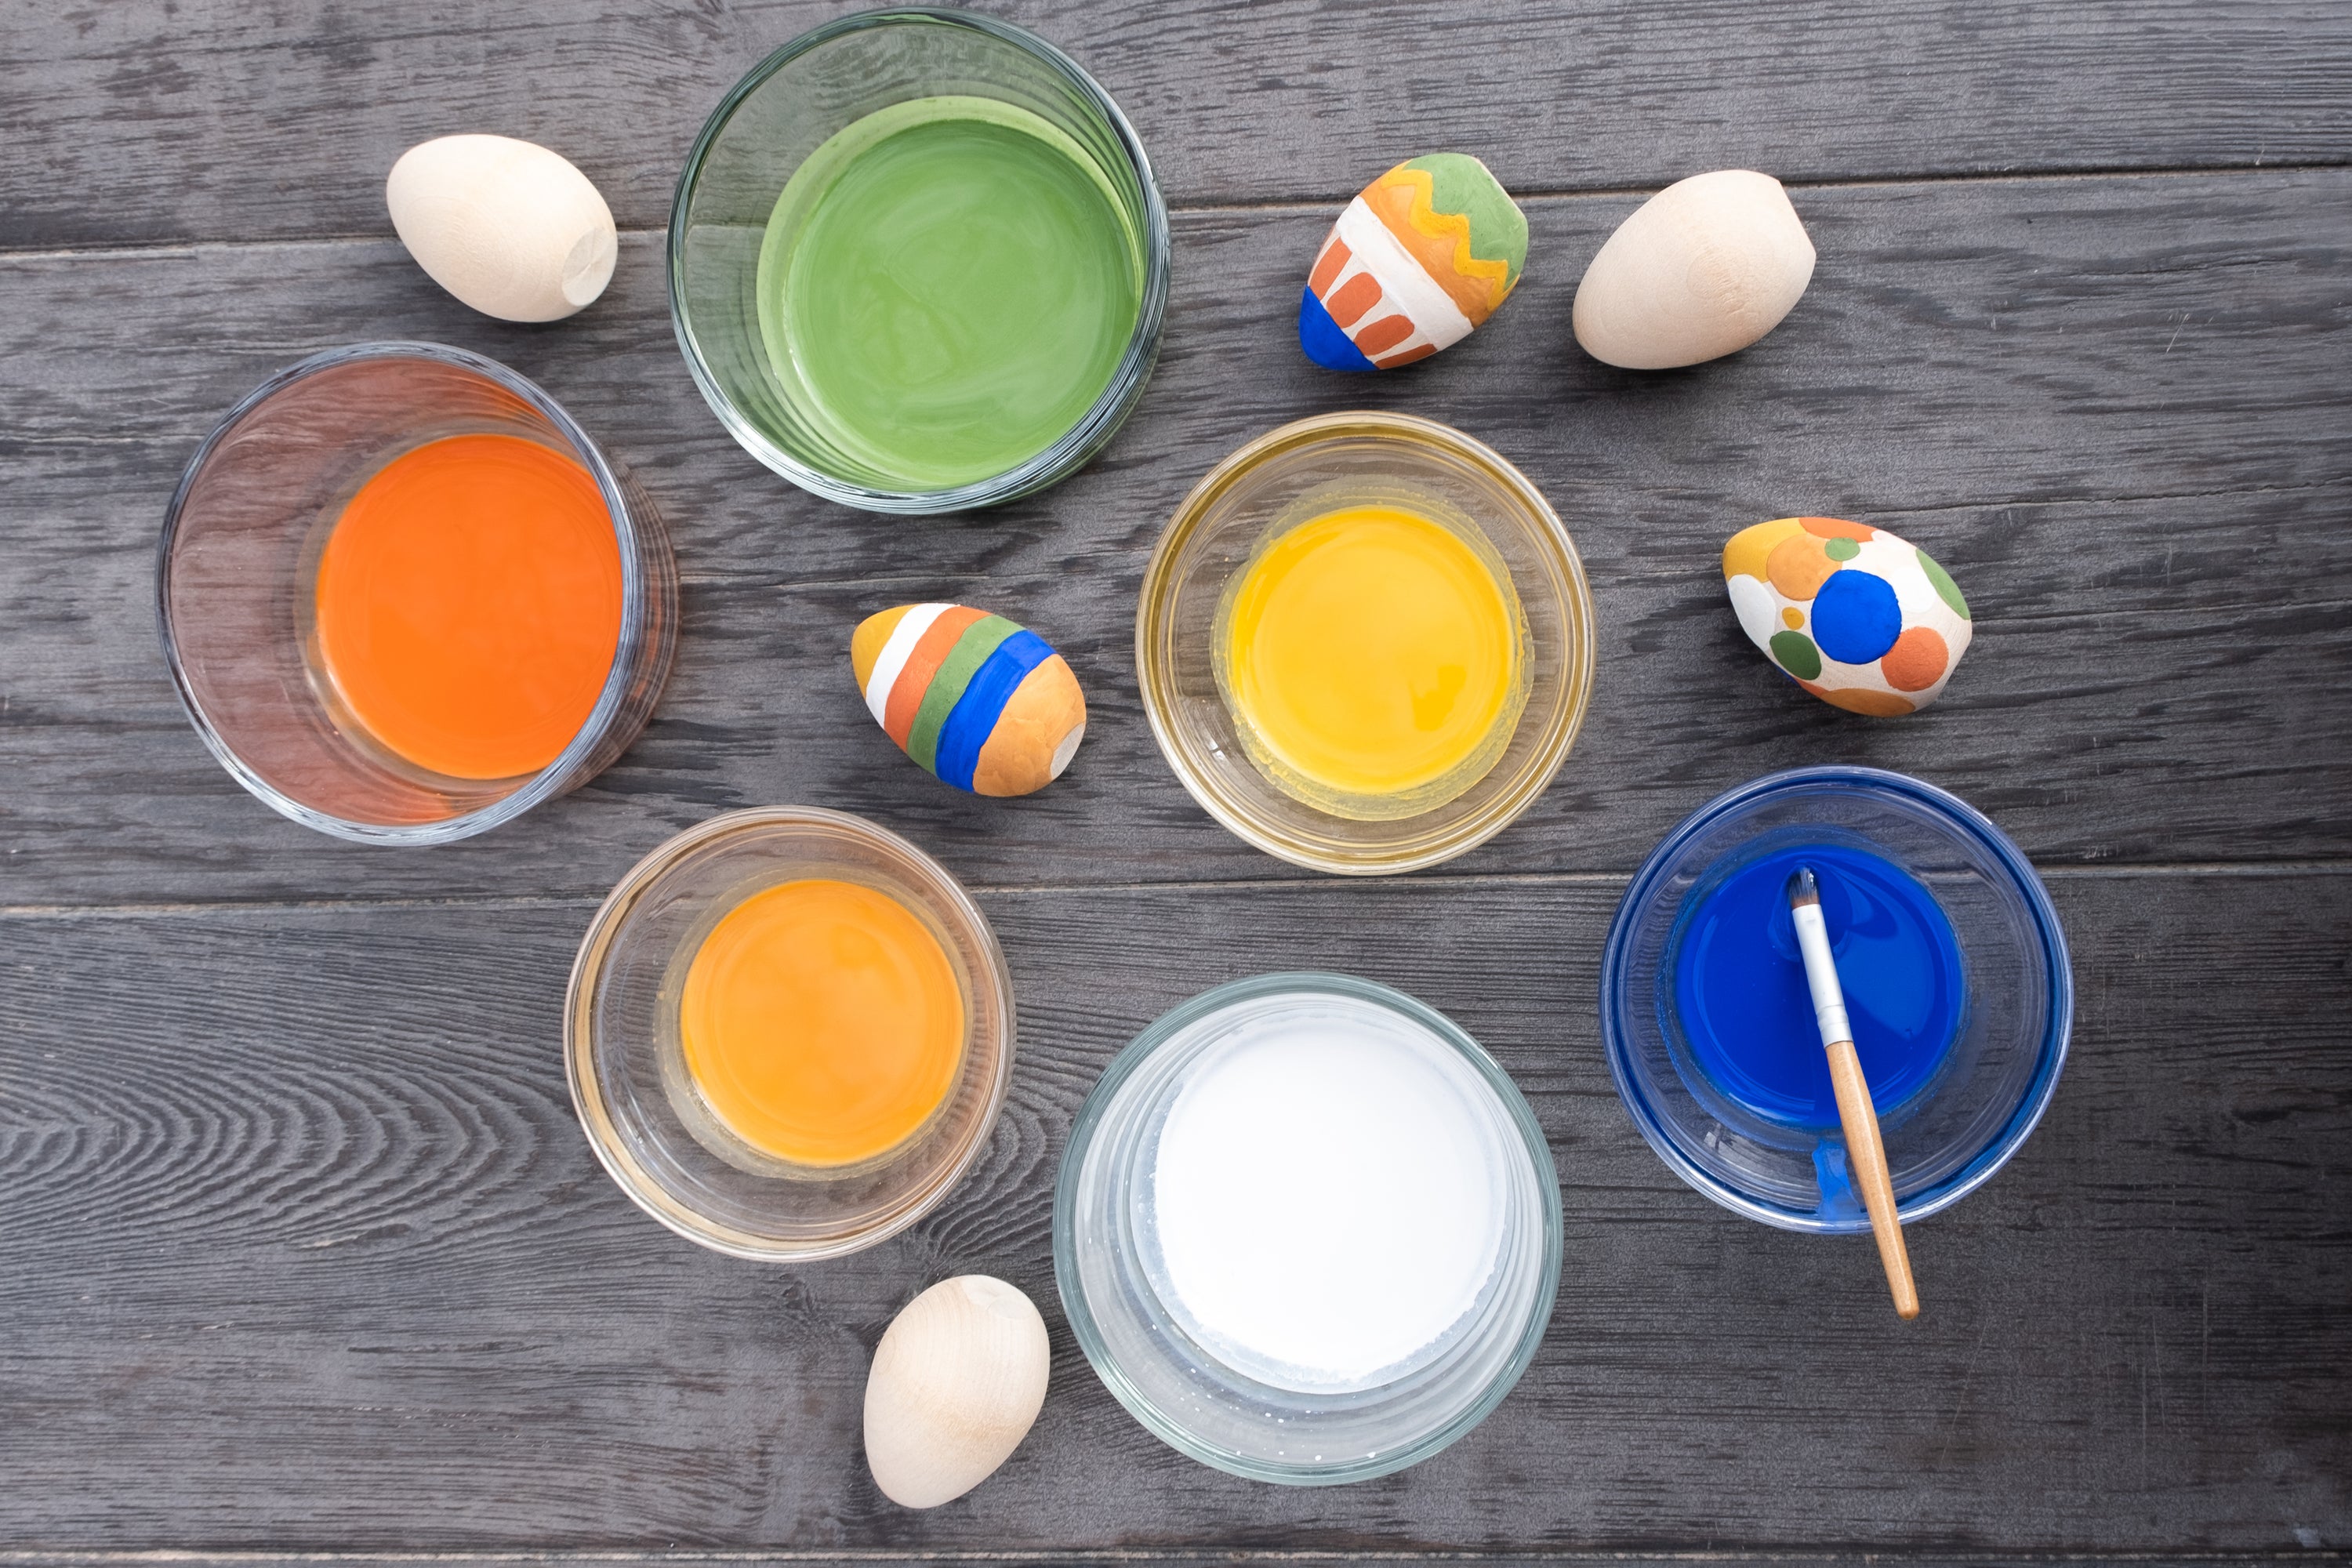
Supplies:
Step 1: Mix the Natural Earth Paint.

Step 2: Paint the eggs a solid color and let dry (or, leave some of natural wood visible if desired!).

Step 3: Once the first layer is dry, paint on some designs. We made polka dots by dipping a pencil eraser in paint and stamping!


Step 4: Continue painting squiggles, stripes, branches, circles, etc. The more creative, the better!

Step 5: Let your little one arrange their eggs once dry. If you want an extra layer of protection and a permanent seal, apply Natural Varnish over the finished, dry egg designs.


Optional: hide your eggs indoors or out for a fun Easter egg hunt adventure!

Interested in more recipes featuring Natural Earth Paint products? Visit our Recipes page!
Follow us on Instagram, Facebook, and Pinterest for more natural inspiration.