Thank you to Anna Ellen, guest artist for this fabulous recipe!
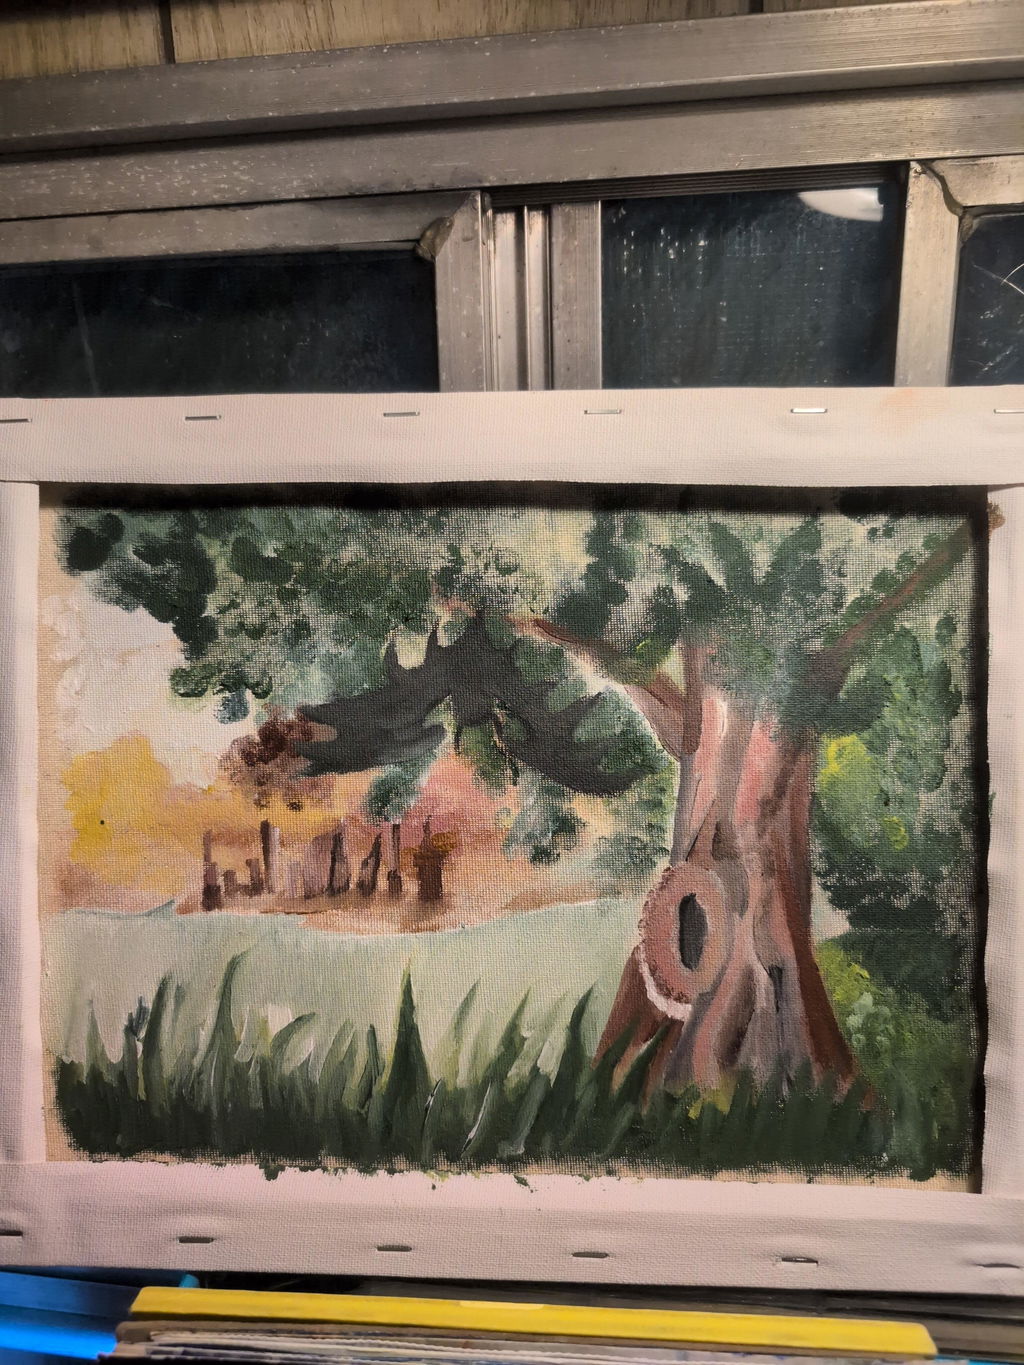
I am a watercolor and gouache artist and I wanted to add natural paints to my palette. I started by making watercolors and drying them in pans. But more recently, I started creating water-soluble pastels. They’re so easy to draw with and I love to wet them and use them as paint.
I use Natural Earth Paint’s recipe of earth pigment, water, and honey. It took some time for me to figure out how to make the pastels the exact consistency that I wanted. Each pigment is unique, so I had to experiment with each one. Sometimes, my mixture was way too runny and wouldn’t even roll. I would have to add more and more pigment and water and ended up with a large batch of pastels in one color because of it. I didn’t mind that part! I love an abundance of art supplies. I was used to making watercolors that it took a few times to get it perfect for rolling into sticks. Now when I make these, I lean on the side of having a dryer mixture and very slowly adding tiny bits of water so that I don’t end up playing the game of adding more pigment, then more water and on and on.
Here is how I make my pastels:
Supplies: Natural Earth Pigments, Glass palette, Palette Knife, Water, Honey, Pipette, Notebook

Step 1: Measure out pigment onto a glass palette. You can play around with mixing different pigments together to create new colors. For example, I mixed Terra Verte and some White Titanium to get a lighter color. This is about 1 teaspoon Terre Verte and ½ teaspoon of white.
Step 2: Add a little bit of water and start mixing with your palette knife. I eyeball it and write down how many ml of water I used from the dropper. I write this in my color journal so I can look at it later.

Step 3: Add a little bit of honey. I also eyeball this but you don’t need much more than a few drops.
Step 4: Keep mixing. If it’s too runny, add some more pigment. If it’s too dry, add a little bit of water.
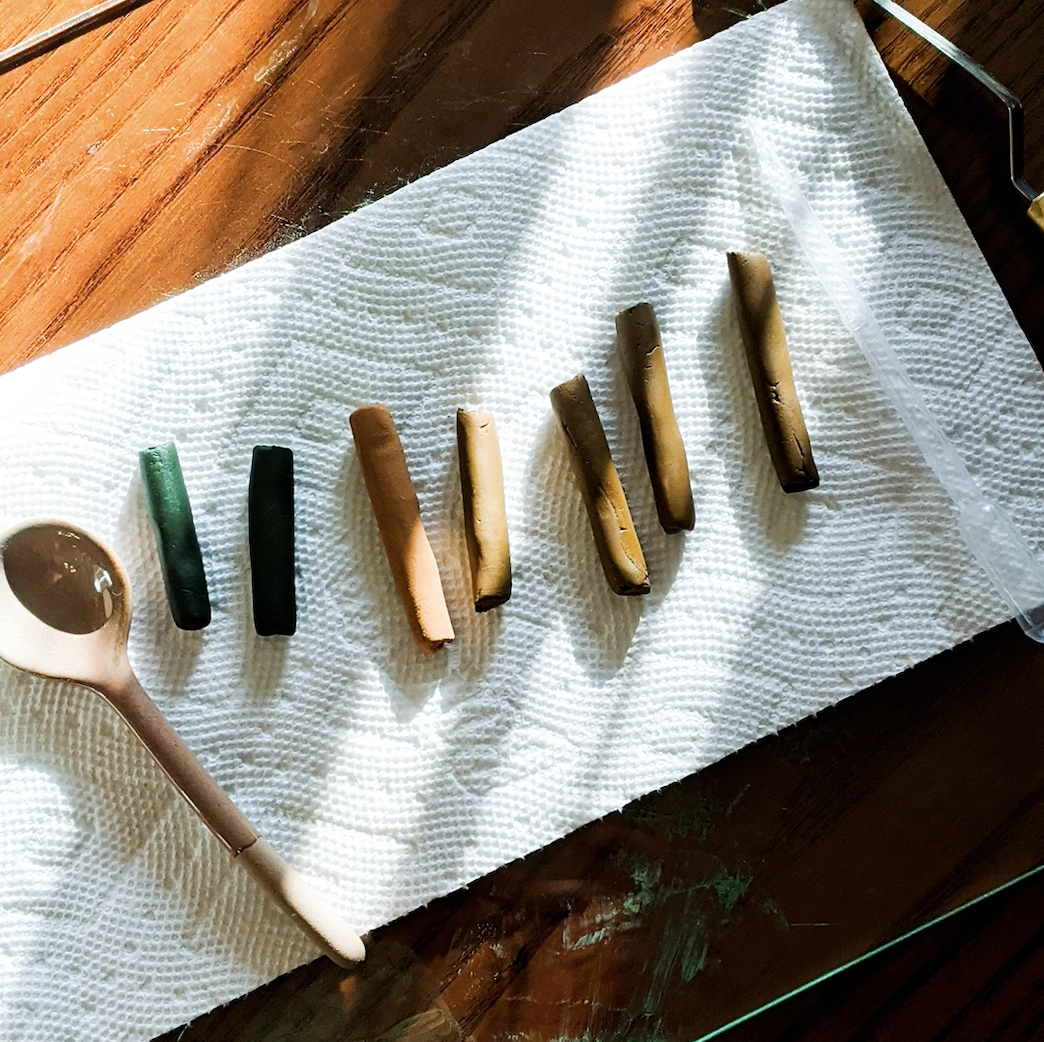
Step 5: Once you have a nice and thick paste, I gather it all together into a ball or pile. Sometimes I will let it sit there for an hour or two to let it harden a little bit more. Keep an eye on it because you don’t want it to dry completely. I look for a nice play-dough consistency. Then I start to roll it on my glass palette. I use my palette knife to cut it in half or thirds so that they are a length I like.
Step 6: I set the rolled pastels on a paper towel or something absorbent to let them dry overnight. If they end up being too crumbly or hard while you are drawing with them, I make a note in my color journal to add more honey next time.

Now you have artist grade pastels! I put them in an Altoid tin for easy travel. The color is so strong and vibrant.

My favorite way to use them is to wet them. You can either wet the pastel after you have drawn on paper or wet your stick and use it to paint."
Interested in more recipes featuring Natural Earth Paint products? Visit our Recipes page!
Follow us on Instagram, Facebook, and Pinterest for more natural inspiration.