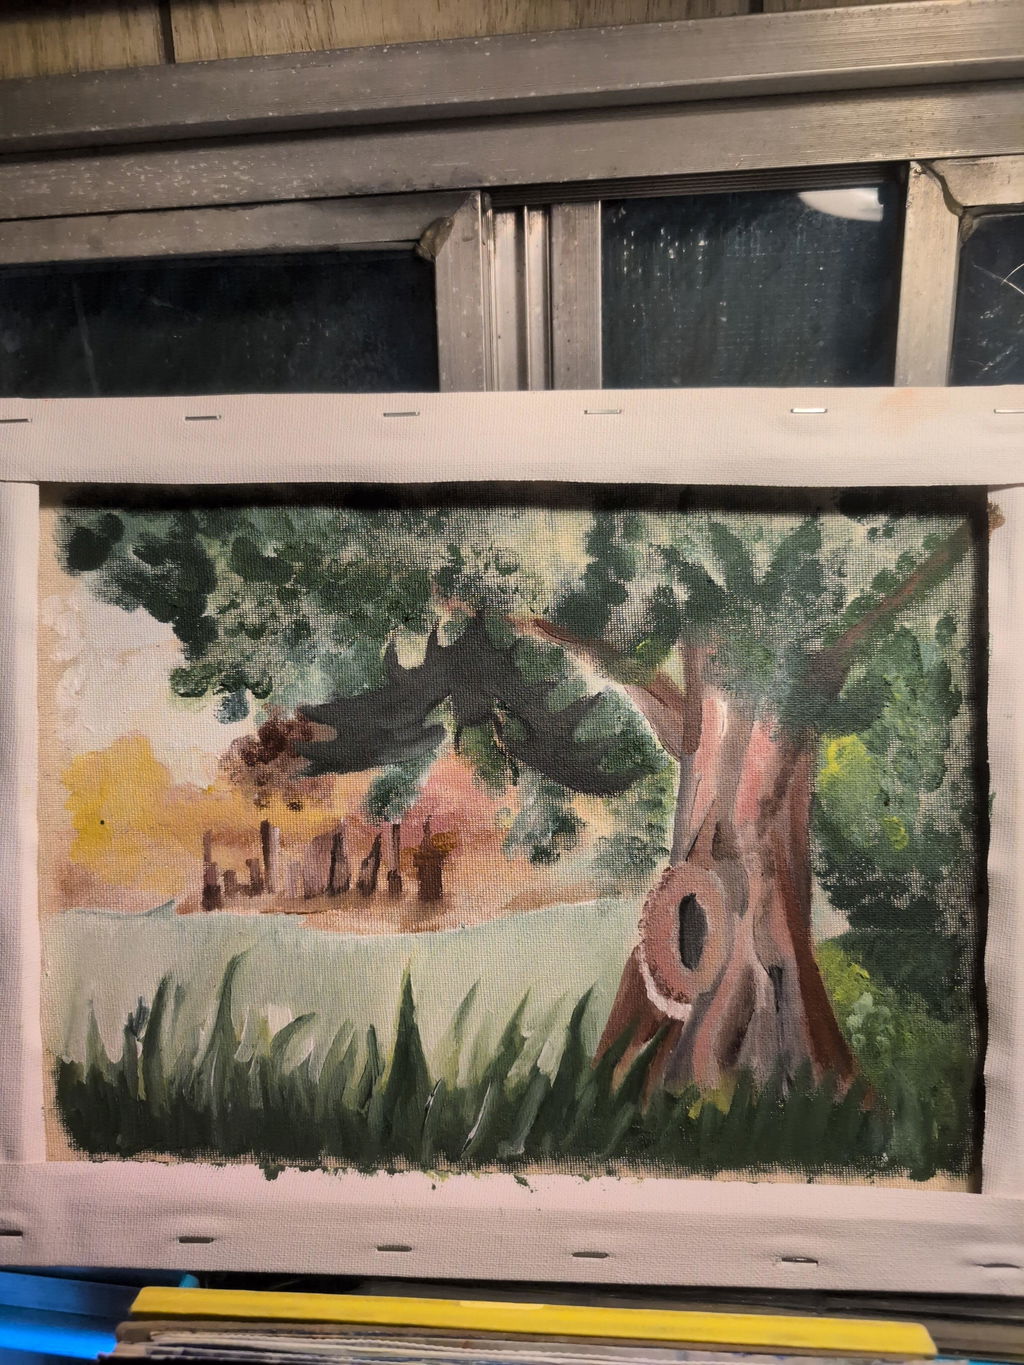
AS OF MACH 1, 2021 PLEASE SEE OUR RECIPES ON THIS PAGE HERE
These recipes utilize the pure earth & mineral pigments.
Earth Egg Tempera

History: Tempera painting predates oil painting as a professional painting medium. It has unique characteristics: it produces a crisp, luminous, almost linear effect that’s quite different from oil. Using egg yolk as the binder, this ancient technique makes a water-soluble paint that dries quickly, allowing for over-painting with more tempera or other mediums. If you have never tried it, we thoroughly recommend the experience! See a detailed Step by Step with photos here on How to make Gold Egg Tempera Paint.
Ingredients: egg yolk, water, earth pigments
Prep Time: 5 minutes per color
Process:
- Separate the yolk from the white: Break open an egg, cleanly separating the yolk from the white. Keeping the yolk whole, dry it by passing it back and forth in the palms of your hands, drying the palm with each pass (or roll it on a paper towel).
- Remove yolk from the sack: Hold the yolk over a dish or jar with your thumb and forefinger, and pierce the sack to allow the contents to flow out. Discard the empty sac.
- Mix with pigments: Mix yolk with earth pigments (start with 1:1 and then add more yolk as needed), and use water to thin the paint. A drop or two of Clove Oil can be added to slow spoilage. Tempera paint does not store well once mixed, so paint away!
Earth Pastels

This is a natural chalk/pastel recipe used by many Renaissance artists for drawings. Making your own pastels allows you to create them as soft or as hard as you like. Commercial pastels have to be made hard enough to withstand breakage during shipment. As long as you're not shipping these, you can make soft pastels that are more yielding and do not dig into the under-layers of the paper as much as harder pastels do. The paint quality will be richer, and the colors more intense.
Ingredients: earth pigment, water, binder of your choice (limestone powder, wheat paste, honey or white soap (grate and dissolve a small amount in water)).
Prep Time: 5 – 45 minutes, depending on which binder you use.
Process:
- Mix pure earth pigment with a small amount of water (with a palette knife) to create a thick, paste-like material. Start with a 1:5 proportion (water to pigment) and adjust as needed. Add binder.
- Roll it on an absorbent surface (newspaper or paper towels). Roll it into stick form, and let it dry. If the dry pastel doesn’t hold together or is too crumbly you should add a tiny bit of binder such as wheat paste, limestone powder, dissolved soap, or a honey/water solution (1:5) - example: 1 Tbsp. pigment: 1 tsp. limestone powder. Experiment because each pigment has different properties and acts differently.
Wheat paste recipe: wheat, rice, or rye flour work well. Use about 1 part flour to 6 parts water. Mix flour with a small amount of water to make a smooth paste. Then add hot water to make a thin consistency. Cook on low heat, stirring constantly until it thickens to an oatmeal-type consistency. Use immediately or refrigerate to preserve it for a few days.
Wall Mural Earth Paint

(Note: the Children's Earth Paint is also a great mural paint)
Ingredients: earth pigment, flour paste (or white glue), and water
Process:
- Mix 1 - 2 parts water with 1 part glue or flour paste (recipe below).
- Add pigments until desired color is achieved, not exceeding a ratio of 20% by volume.
- Note - wet paint is much darker than when it's dry on the wall.
Wheat paste recipe: wheat, rice, or rye flour work well. Use about 1 part flour to 6 parts water. Mix flour with a small amount of water to make a smooth paste. Then add hot water to make a thin consistency. Cook on low heat, stirring constantly until it thickens to an oatmeal-type consistency. Use immediately or refrigerate to preserve it for a few days.
Casein Earth Paint

Ingredients: 2 Tbsp. casein powder; 1 Tbsp. borax, 1 oz. earth pigment
Prep time: 5 min. prep; then let sit overnight. 5 more min., and let sit an hour.
Process:
- Mix 2 Tbsp. casein powder with 5 oz. warm water, and let sit overnight.
- Discard the water that accumulates on the surface.
- Mix 1 Tbsp. borax with 4 oz. hot water, and add to casein/water mixture. Let sit for one hour.
- Mix a spoonful of the casein mix with pigment in a glass bowl or on your palette.
- Paint on wood, paper, or canvas. Add water if you want a watercolor effect. Mixtures last a week if refrigerated.
Natural Wood Stains

Simple Stain: There are several techniques to make natural wood stains. The simplest method is to add pure earth pigment to walnut oil and rub it onto wood with a clean rag. Start with 1 part pigment to 4 parts oil, and adjust proportions as needed.
"Shaker" Wood Stain: Here is another technique that uses water instead of oil.
Prep time: 45 min. – 2 hours
Process:
- Combine 1 Tbsp. earth pigment and 1 cup of water in a saucepan. Gently boil it down until you have a thick paste. Let this cool.
- Rub the stain paste into wood using a cotton cloth. Rubber gloves should be worn to prevent staining of fingers.
- Let each coat dry. Rub in successive coats until the wood will not absorb any more. Softwoods work well with this stain, since they are very absorbent. Since there is no binder, a sealer must be applied to prevent the color from transferring.
Gouache Paint

Gouache is a beautiful water-based artist paint, similar to acrylic or an opaque watercolor.
1. Mix 1 cup hot water with ½ cup Gum Arabic Powder
2. Add in 1/5 cup honey (a little less than ¼ cup)
3. Add two drops of clove or thyme essential oil to help preserve it
4. In separate bowl, mix 1 Tbsp. honey with 9 TBSP of above mixture (1:9) - this is your "base".
5. Mix 1 tsp. limestone powder (whiting) with 6 tsp. pigment.
6. Mix one part "base" with one part pigment/limestone mix. (example: 1 Tbsp. base & 1 Tbsp. pigment mix)
7. Store in airtight jar.
Glair Earth Paint

Glair paints were popular during the 5th century to create illuminated manuscripts. Because the paint is not very strong, it works best on paper. It’s perfect for art journaling and is very quick and easy to make.
Ingredients: egg white & earth pigment
Process:
- Beat egg whites into a froth that is like a meringue in consistency.
- Let sit at room temp. several hours or overnight.
- Gently remove the foam on top (the liquid that remains is glair)
- Mix 1 part glair with 1 part earth pigment. Use this paint like watercolor, thinning with water if necessary. Glair paint does not store well, so make enough for one painting session or store in fridge.
Natural Acrylic Earth Paint (and Permanent Fabric Paint)

For painters who enjoy the strong, fast-drying qualities of acrylic, you can always make acrylic earth paint that is more luminous than tube acrylics because there are no fillers or preservatives.
Ingredients: natural acrylic medium & earth pigment
Prep time: 3 min. per color
Process:
- Combine 1 part acrylic medium and 1 part pigment by placing the medium on your palette and carefully adding the pigment. Mix with a palette knife.
- Adjust proportions based on the pigment - each one absorbs liquid completely differently - some may need much more medium, some less.
- Store paints in airtight containers or an aluminum tube. Thin with water.
- Clean palette and tools before paints dry for easier clean up.
Professional Watercolors

Watercolor Base:
- Mix 1 cup hot water with ½ cup Gum Arabic Powder
- Add in 1/5 cup honey (a little less than ¼ cup)
- Add two drops of clove or thyme essential oil to help preserve it
(If you want a stronger preservative you can use sodium benzoate – a food grade preservative - 1/2 - 1 tsp.)
-In separate bowl, mix 1 Tbsp. honey with 9 TBSP of above mixture (1:9)
Mixing in Pigment:
Mix 1 part mixture with 1 part earth pigment (adjust as necessary)
- For example, 9 tsp. mixture and 9 tsp. pigment
- Note: Each pigment has completely different properties and behaves differently so determine what each pigment needs. For example, I found that blue needed a little more pigment than 1:1. And yellow ocher needed quite a bit more pigment.
Store in airtight jars or let dry into cakes (add a few drops of glycerin to prevent cracking if drying into cakes - optional).
Earth Sand Painting

History: The ancient art of sand painting among Native American tribes in the Southwest was a form of religious expression. In its original form, sand paintings were created to exist only a few hours. Toward the end of the 20th century, many Native Americans began creating more permanent sand paintings by using glue under the colored sand.
Ingredients: 1 cup of a fine, craft sand. 1 tsp. earth pigment
Prep Time: 3 min. per color
Process:
- Place sand in a glass jar, and add the desired amount of pigment. The amount we suggest above is only an approximation.
- Shake vigorously to coat the sand particles with pigments. Since pigments are not dyes, their fine particle size mixes with the sand to coat it, but the pigments do not actually dye the sand. Therefore this is not a colorfast application. However, coloring sand by hand and choosing single or combinations of pigments gives you an infinite range of colors that cannot be matched by store-bought craft sand.
Tips for sand painting:
- Work with only one sand color at a time. Finish all areas of your painting with that color before proceeding to a new color.
- Use dark colors before light ones when possible.
- For more permanent sand paintings, draw with glue on a hard surface, and "paint" the sand onto the glue.
- Upon completion of all colors, you may notice some colored sand has invaded other areas of a different color. Wait until all ares are completely dry. Then use a can of compressed air, such as that used to clean computers, to blow this excess off.
Renaissance Painting Varnish:
Ingredients: One egg white
Instructions: Whip one egg white until it thickens. Place the whipped white in a glass container and cover it with water. Cover container and allow it to sit overnight. Remove the liquid that accumulated and use as varnish.
Note: Other varnish options are the Natural Acrylic Medium and Natural Varnish
8 Ways to Use Gold Mica
